Local Jekyll for webpage testing
Shortening the feedback loop on webpage edits for this site.
This is my first use of the Chirpy theme for the Jekyll static site generator and my first use of Jekyll itself. These technologies mean only updates to config and markdown text are required by me.
I initially followed the starter guide for having my “github pages” respository generated from their chirpy template. The theme arose in a few online articles and videos, like in this video from “Techno Tim”
At this point I’m new to github pages, jekyll and chirpy. The process for edits needs a local edit, a push to github and a wait for the github-actions. It’s all a bit slow and cumbersome this way.
So, I’m getting Jekyll on my laptop to “run” the blog/site locally first to see how that improves things (it should!).
Steps for Local Jekyll
- Following the getting started guide, I skipped the dev-container bits and went straight to the Jekyll install guide, and for my system the focus was for mac os specifically.
- My Mac is the intel version, currently on Ventura/13.6. I already have the
brewinstaller, so grabbingchrubyand usingruby-installwas a breeze, although it suprised me that it took 15 minutes or more- it seems to be going about not just an install but a build of everything it needs (ruby, docs, etc) and local install
- eventually it completes with
>>> Successfully installed ruby 3.1.3 into /Users/ei2081/.rubies/ruby-3.1.3 - after a bit of fun with the
.zshrcupdates (typos on my part) I’ve got* ruby-3.1.3when i runchruby.
- at this point I’m delighted that I didn’t fork the chirpy theme when I got it, as now I would have to go and deal with installing node!
- startup works when I don’t forget to run
bundlefirst, to grab additional ruby gems
All said and done, the most difficult part of this was reading through the Writing a new post article from the Chirpy Theme folks and realising it’s not really geared toward your new, first post :D - I found the Text and Typography article a little better.
The local Jekyll Experience
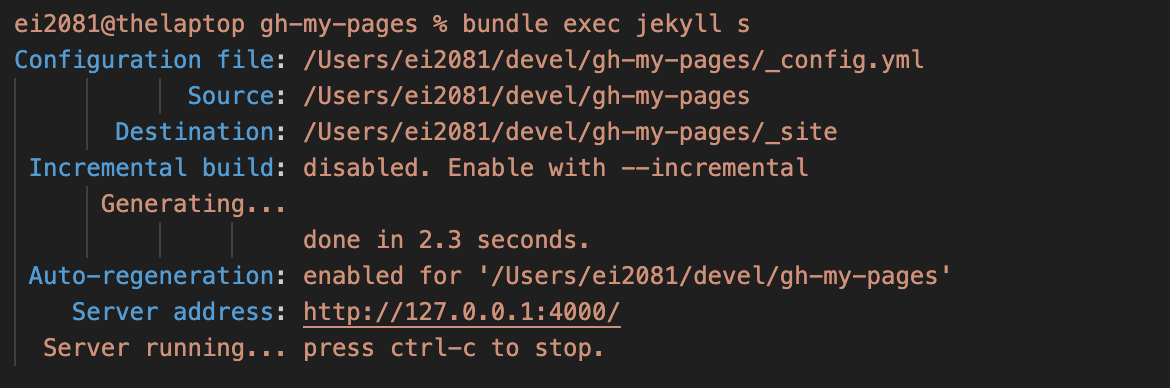
After running bundle exec jekyll s from the checkout of my repository, a few features and suprises were immediately apparent
- It pretty clear about what it’s doing, where to connect (http://127.0.0.1:4000/) and what it’s generating
- I had a missing page or two, because I forgot to add the
.mdextension, which i did read somewhere - it told me it was skipping a page i’d accidentally future-dated, so adjusting the date sorted that out.
- fixing those previous two items didn’t required any restarts, it detected the changes and republished what it needed :D
- the autogenerated category hierarchy, and tag cloud, and the list of posts for each was a really nice touch.
- the search feature is also great, and fast, seems like a full site-search.
- update: it’s not, it’s for posts only and won’t include tabs (pages i the _tabs folder).
Summary
Having this kind of turnaround validates that it is something I should have done from the outset !
When your working with Chirpy, there are a few resources which are helpful
Chirpy Theme Docs
- text and typography for chirpy
- source markup for that page
- other page sources here
Jekyll Docs
Sometimes, you want to do something that isn’t part of Chirpy Theme, but the Jekyll static site generator itself. In those cases you may want to search for “how to ….. in Jekyll”, rather than chirpy. Or have a look at the Jekyll docs